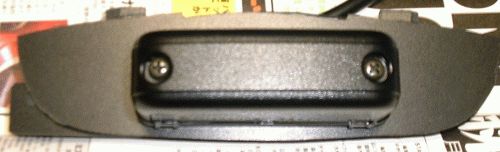
There are two screw for fixing at bottom side. Also there are two projection at up side in order to fix to cowl of 954.
The article of the magazine used projection of up side to fix in seat cowl.
*Notice : The two stay of bottom side in photo is not normal shape. It modified already.
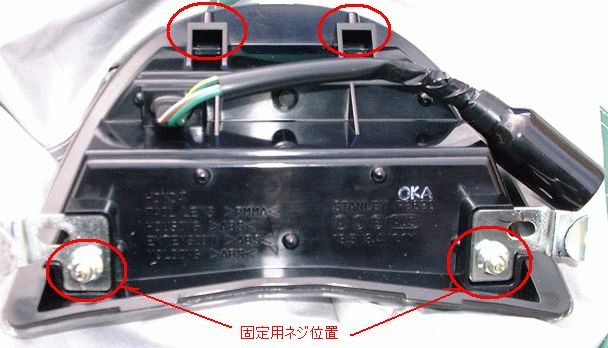
It's just size. :-)
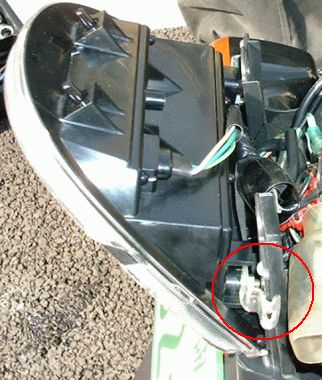
This is over view of above photo.
The left edge of rear fender ASSY having protrude. It's no need.
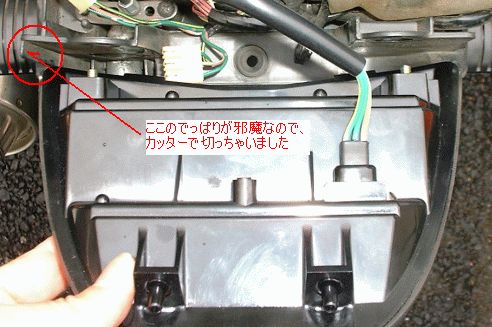
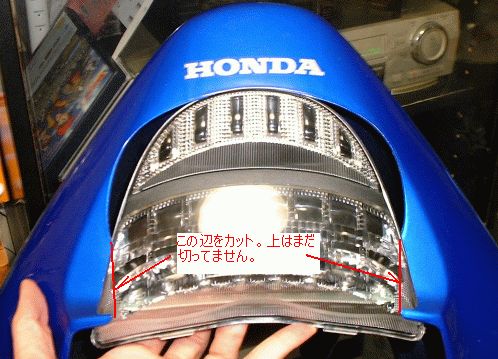
I have to cut the seat cowl. :-(
At this time, I didn't cut up side. Because I want cut just a little if no problem.
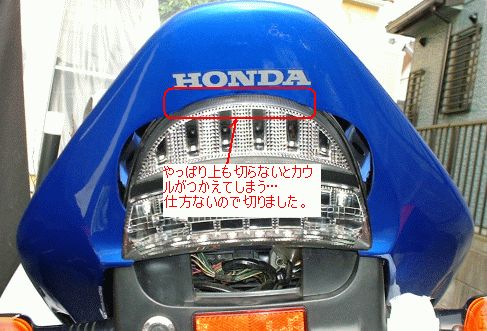
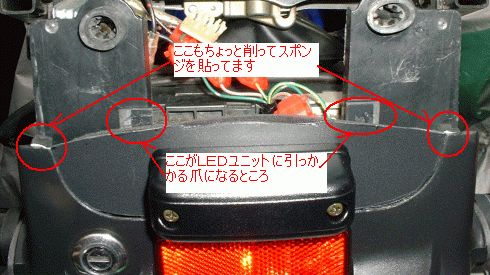
Well, I have to cut up side too. Because, screw of seat cowl can't fasten.
Abandoning, I cut up side too to fit round shape of LED unit.
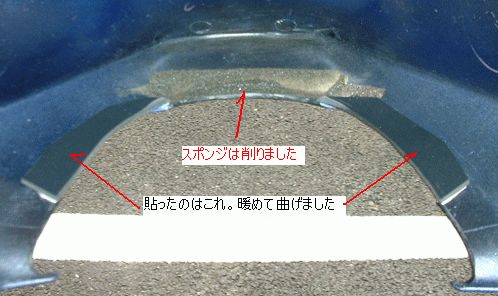
There is sponge at back side of seat cowl. I also shave it too.
Also, I removed rubber seals of seat cowl at down side.
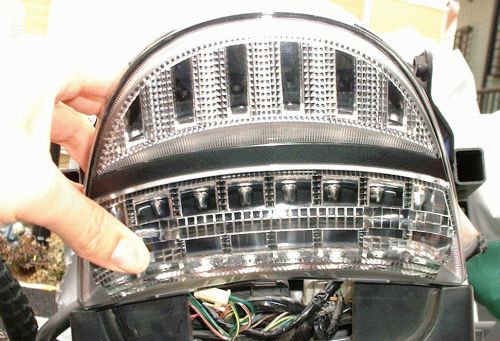
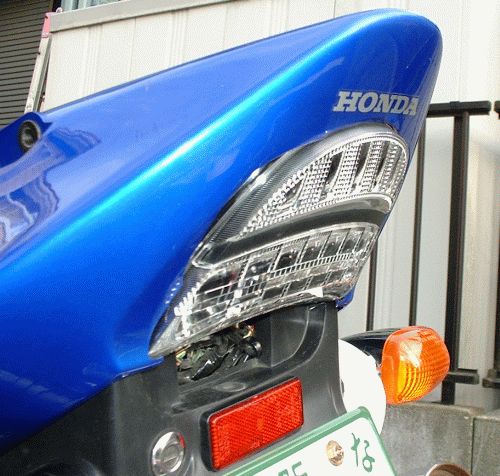
This photo is after that.
Nice! :-)
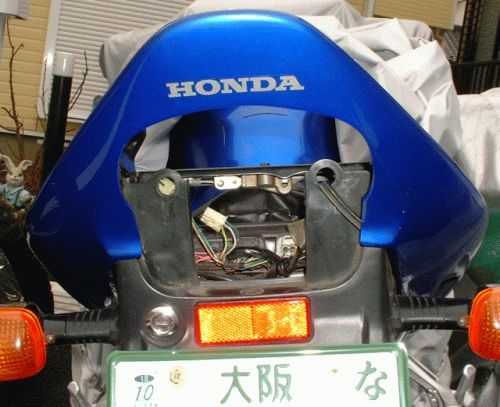
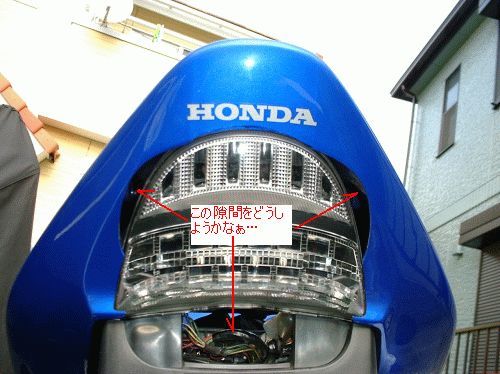
Almost OK the dimension.
There are 3 big space.
The under space is good for mount license light unit.
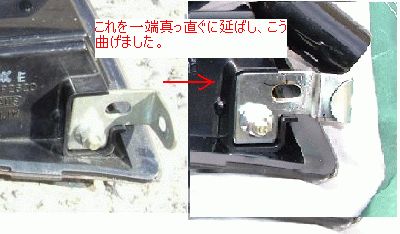
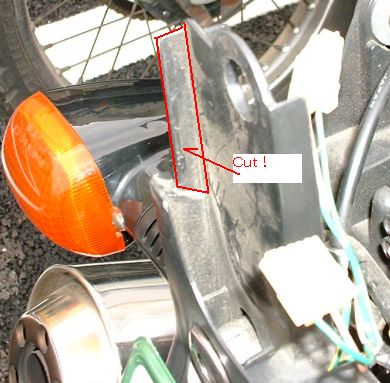
First, bend to straight by hammer, then bend it by two pliers.
The stay is very hard.
It has made left and right both same form.

I can easy remove it by slide to up.
The angle of LED unit is adjusted by stay bending.
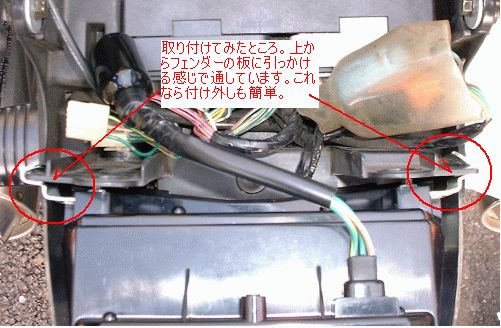
LED unit is hooked by the stay only.
I think, it's OK even it. Because the LED unit has light weight, and the top side is pushed by cowl.
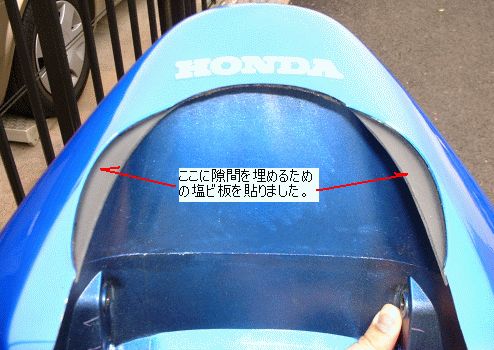
I cut the vinyl chloride board like this.
To adjust the thickness, I stack 4 pieces of board. (3mm x 4 = 12mm)
Rear 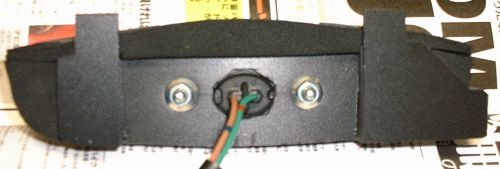
Top 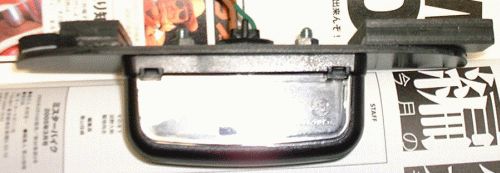
Bottom 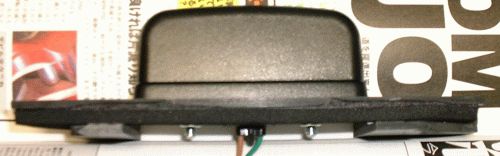
I use both side tape at right side of license unit to fix it.
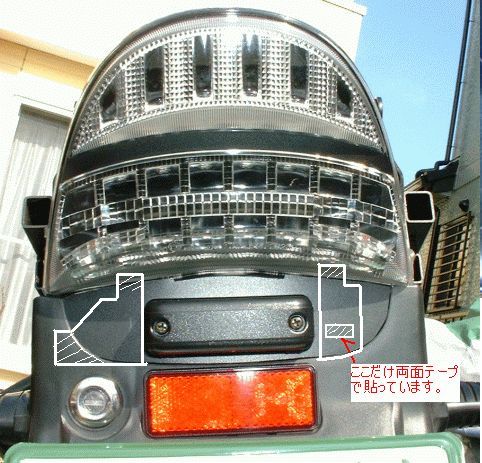
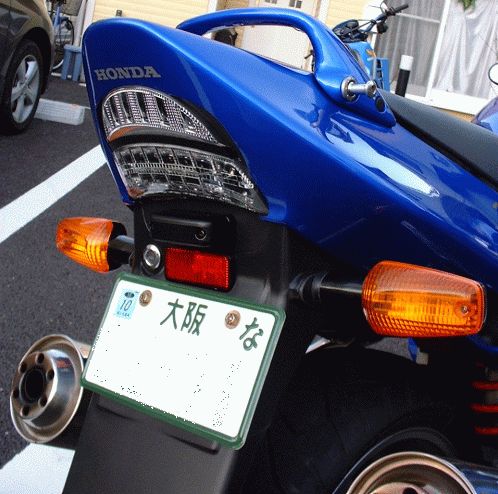
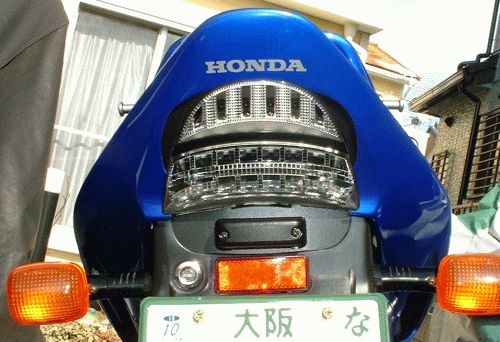
I think, LED unit look nice to blue color cowl. :-)
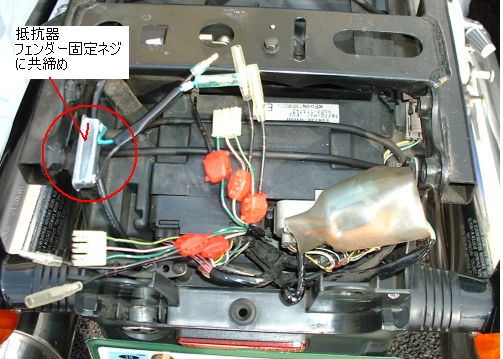
The article of magazine is use resister. But, there is no diagram..
First, I connect it to GND line to protect LED. But I feel, it's dark. Maybe LED unit has resister on the circuit board.
●Please refer to ... Circuit Diagram
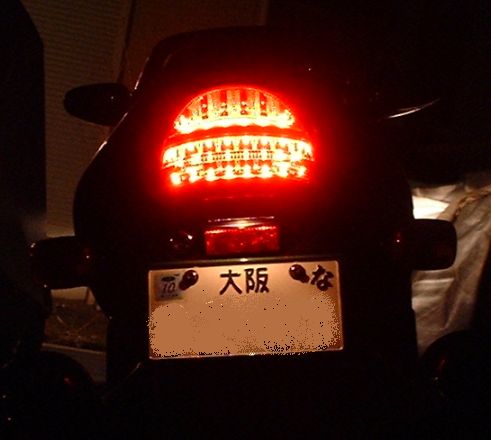
The intensity and flash coverage of license light is enough.
I will try to illumination pattern.
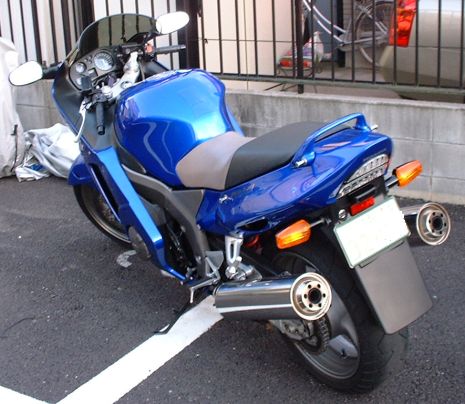
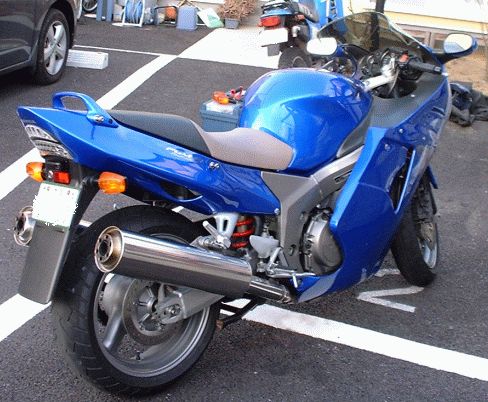
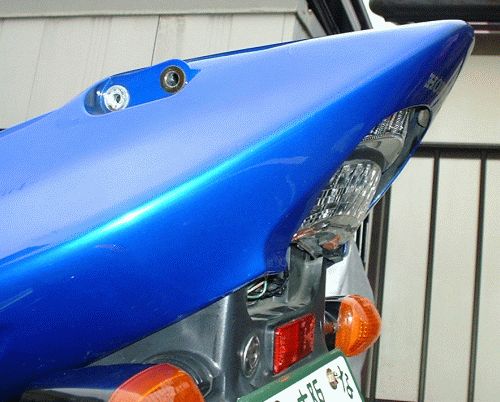
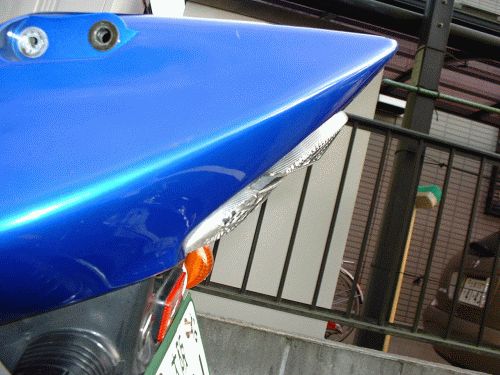
I like the styling from diagonally backward.
But, still I don't like the rear winker style.
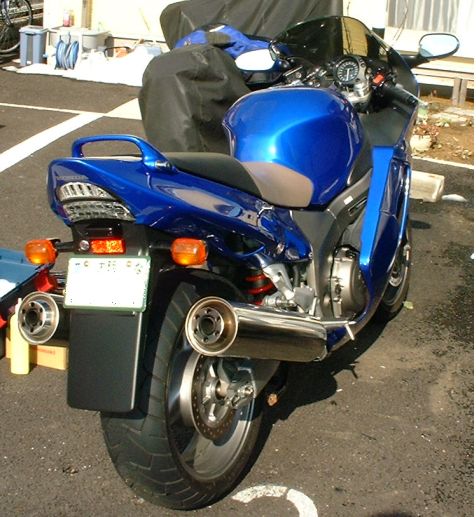
I like the sharp edge style. It's good balance with long rear fender.
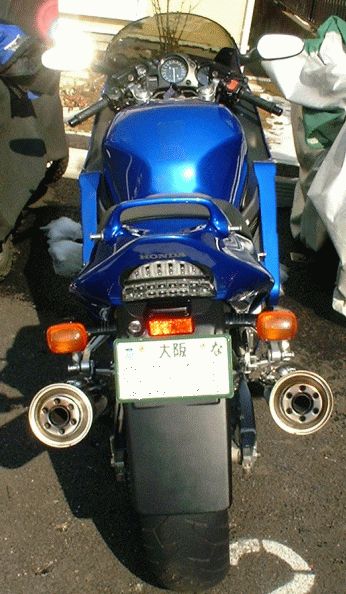
The rear winker is for HONDA X-11. It's no need modifying connector and cable.
Do you think, how it is ? ;-)